For sure, photographers need Photoshop, because it is widely used to edit photos.
The better question to ask is therefore, ‘what type of photographers need Photoshop’?
Based on my observation, certain photographers will find photoshop more necessary than others, and there isn’t a quick and easy, simplistic answer to this question.
In this article, you will learn what types of situations require Photoshop, how Photoshop helps photographers, and whether you should learn Photoshop or Lightroom first.
Photoshop is rather necessary for photography work done in a commercial capacity, in which photos are required for large-scale display, both digital and in print. Specifically, Photoshop is generally mandatory for genres involving close-up shots like portraits and products. This is because Photoshop helps photographers get rid of defects, retain full control over colour grading, remove backgrounds, and make targeted, partial adjustments. Despite its powerful tools, it is advised that photographers learn Lightroom first.
If you find this helpful, SUBSCRIBE to my channel via the box on the left to make the most out of my blog! Also, do share it with people who might be interested. Shoot me an email/ DM to share your thoughts too.
Also, Pin this article to your Photography Editing boards in Pinterest if you find it helpful!
What are the best uses of Photoshop?
Just like equipment purchases in photography, the question is seldom whether or not a purchase is a good idea, because to some extent more gear always enables more production capacity; a more pertinent question is whether or not it is worth paying for.
Another way to put it is, what types of usage make Photoshop a worthy investment?
The quick answer to this is paid work, and specifically paid work that is intended to be displayed on a large medium, digital or print.
Examples of such include product, landscape or portrait shots displayed on large billboards, banners and websites etc.
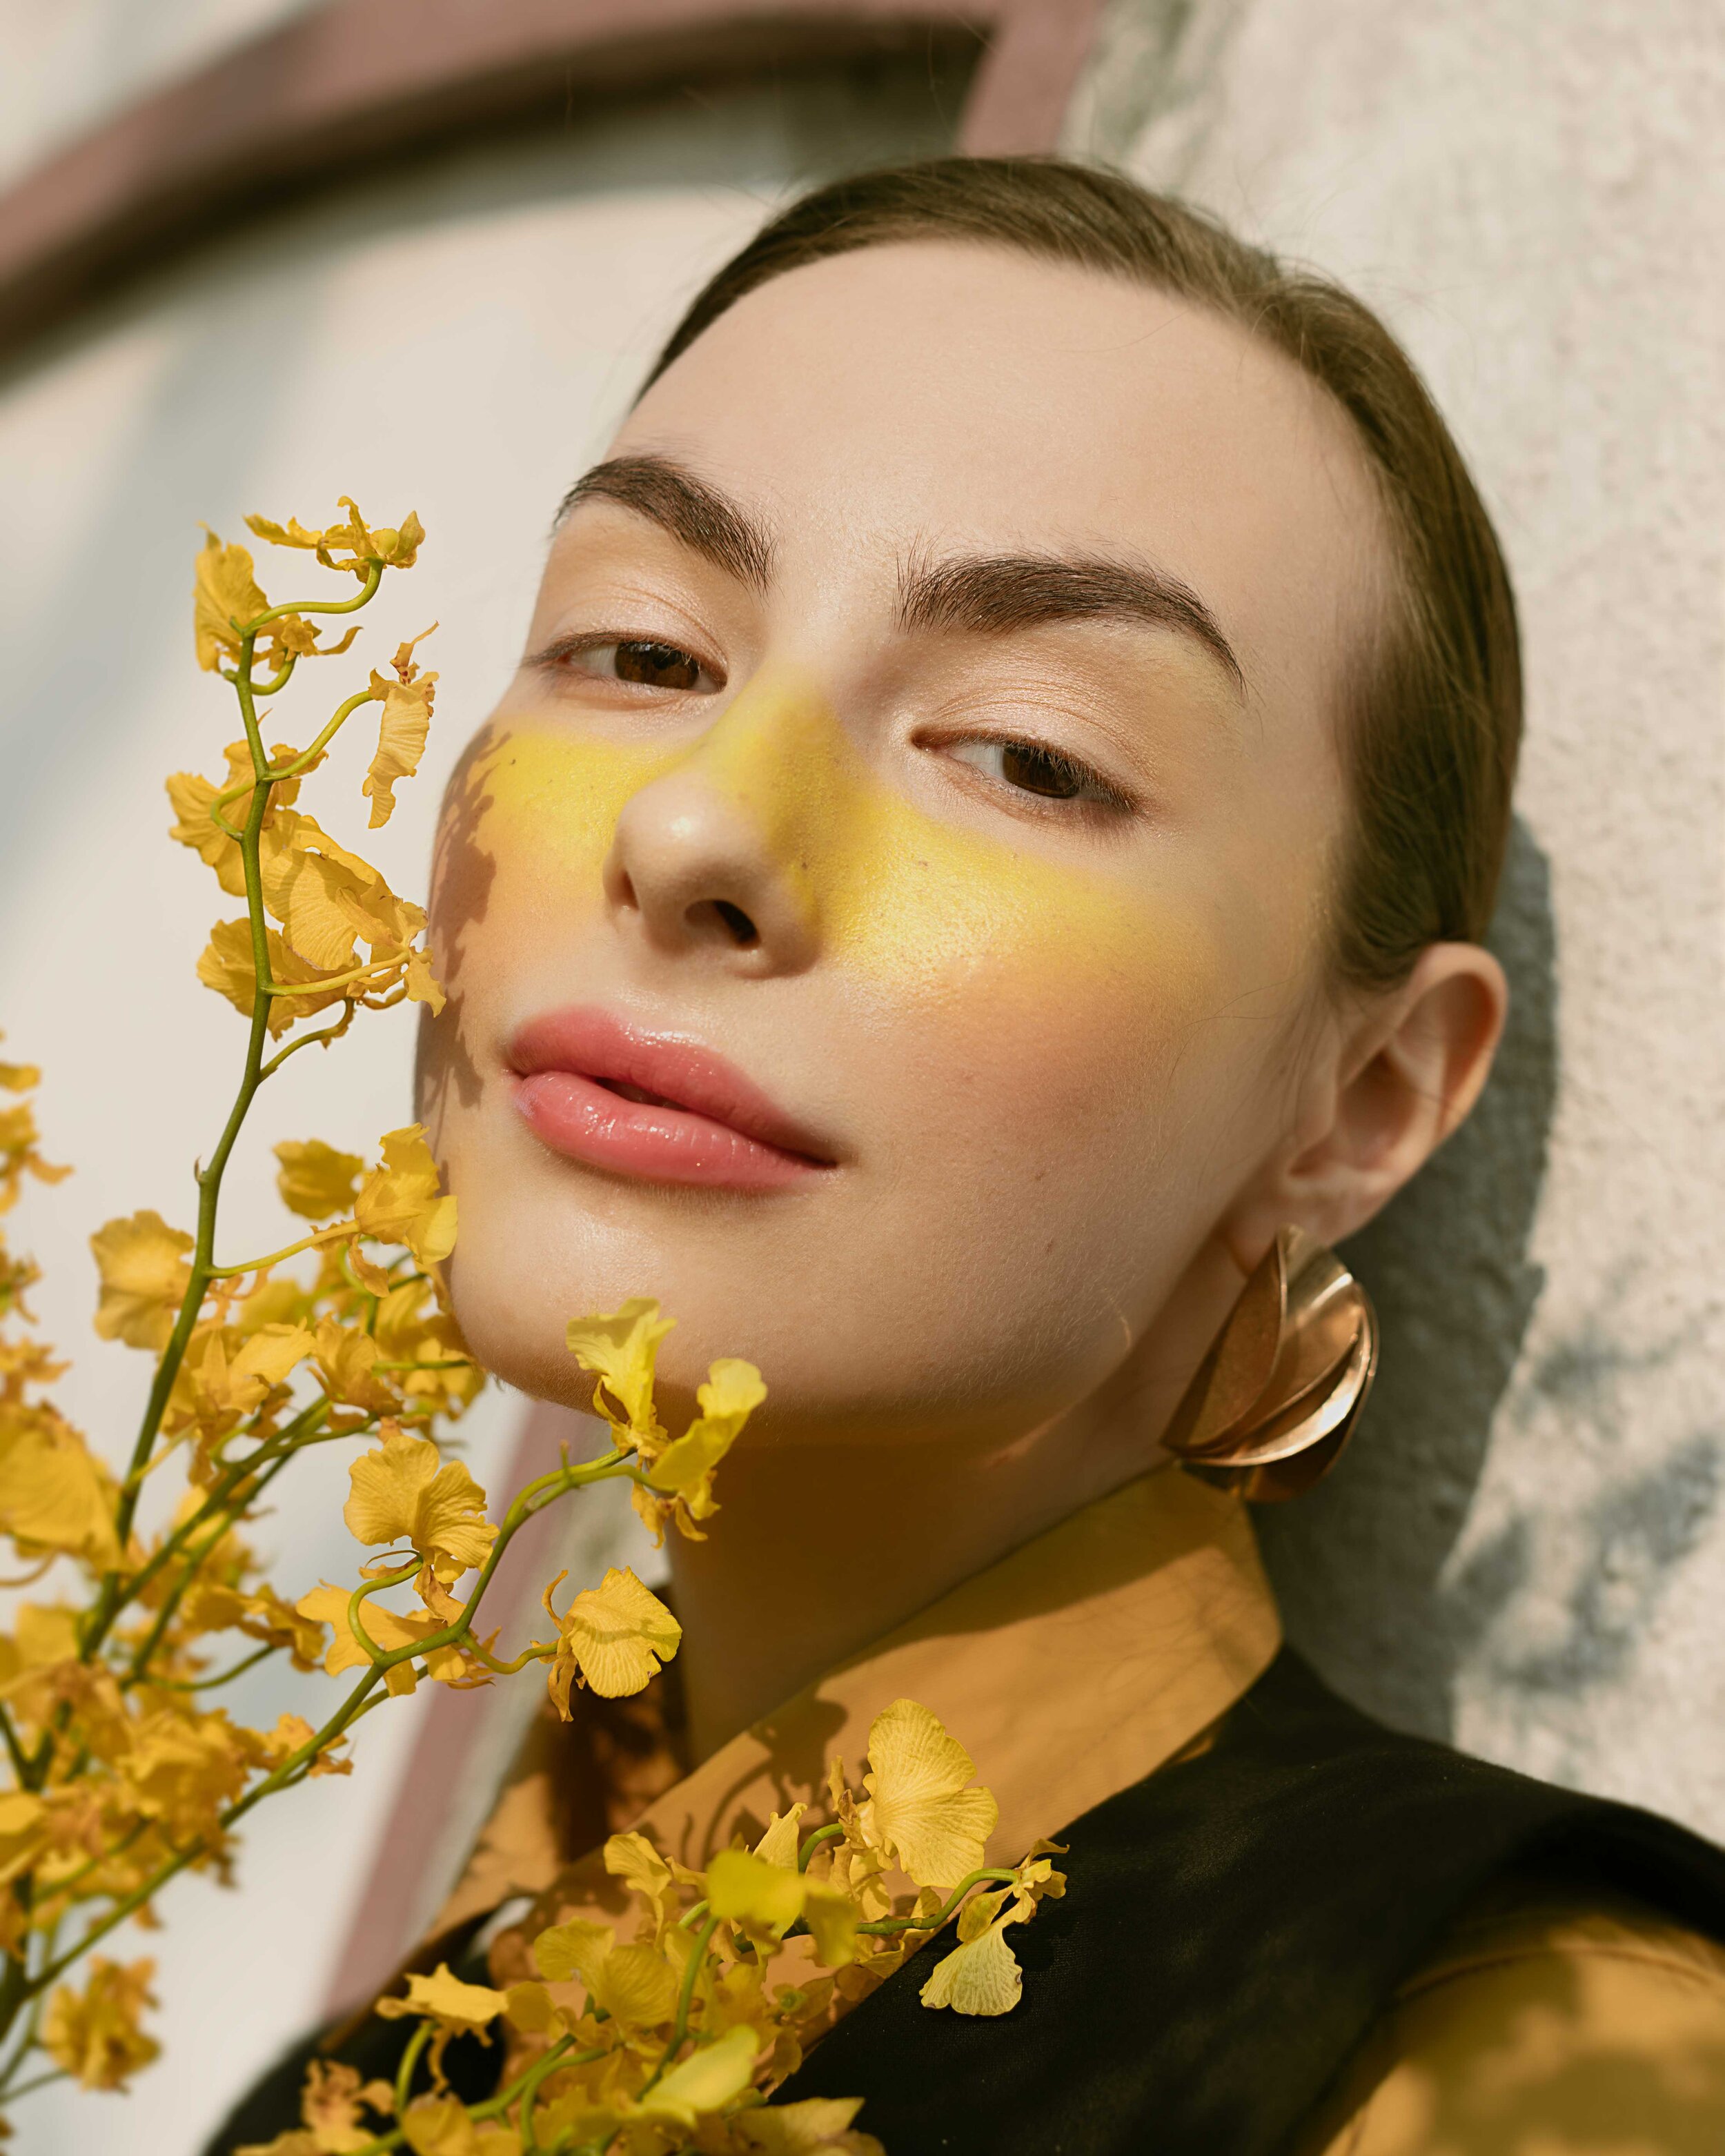


The first image was shot for an on-demand magazine publication. A full-size magazine is large enough to expose any flaws in an image and therefore Photoshop is almost always necessary.
The second image was shot for a commercial brand’s website page, intended as a display that takes up the entire window. This again is a large enough magnification to make tiny flaws apparent.
The last image was shot to be used as stock photography, to be uploaded onto Shutterstock. When it comes to selling photos online, strict criteria is used to assess submissions. This is to ensure that photos offered on the platform are of decent quality even when displayed on a large medium - people do buy stock photos for such purposes.
The general rationale behind the idea of Photoshopping such kinds of commercial work is that large displays are less forgiving than smaller ones, such as social media posts and online galleries; on a massive canvas, any piece of small error or defect will be blown out of proportion. Everything becomes more noticeable because of the magnified display.
Photoshop provides photographers with a means to take care of fine details in images. In other words, the best uses of Photoshop are when every bit of the photo has to be perfect.
How does Photoshop Help Photographers?
This list is by no means an exhaustive one, because Photoshop provides such a wide range of tools that this article would extend ridiculously trying to address them all.
Here are the FOUR most common ways I could think of on top of my head.
Remove Unwanted Distractions
This is usually done using the stamp and heal tools.
The idea behind is a simple one - it is hard to get everything perfect on set due to spacial and time constraints. Therefore, professional photographers need Photoshop to help get rid of unwanted defects in shots.
For portraits, it could be blemishes on skin, scars, makeup that was falling off etc.
For products, it could be dust or dirt particles resting on the shooting surface, labels or watermarks on styling props, flaws on the product itself etc.
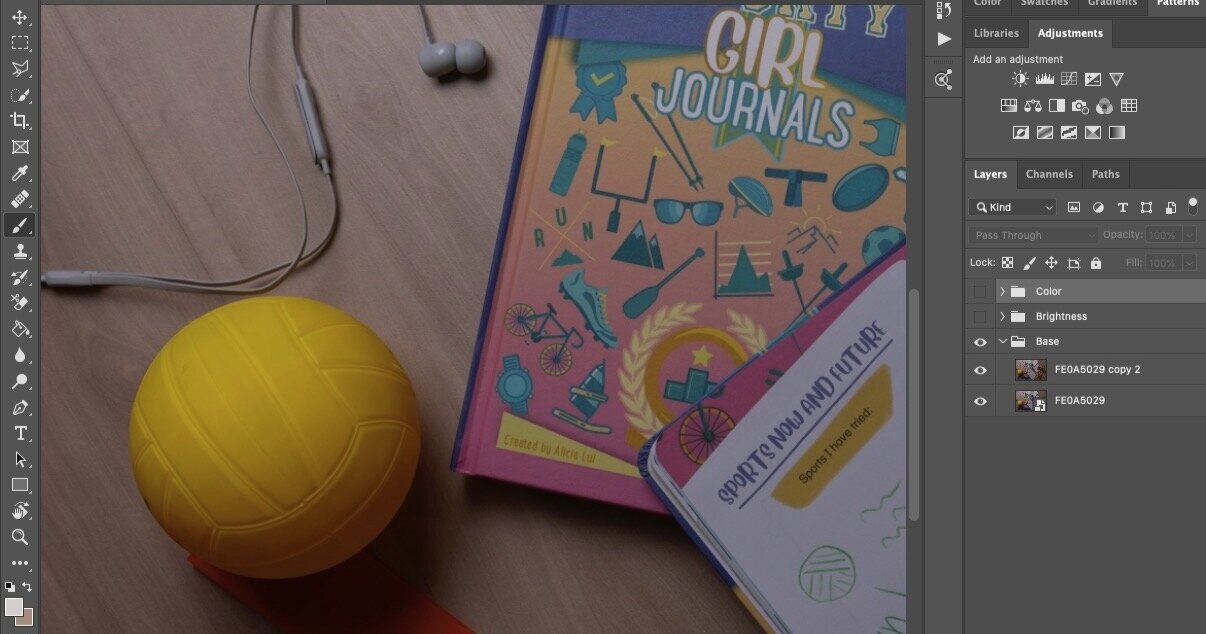
See the below gallery as an example. It was a product shoot I did for a book publisher, and we had this idea of bringing along a toy ball that goes with the vibe of the book.
But the ball had black labels printed on both sides that it was impossible to avoid them altogether in camera.
The book publisher didn’t want those labels in the shot because apparently the photos were for advertising purposes for the book.
So Photoshop was a very helpful tool to get rid of those prints.

For landscape, it could be unflattering branches, out-of-place construction sites etc.
The pixel manipulation tools allow photographers to remove things in the frame that either detracts the viewer’s attention, or undermines the quality of the intended subject.
Precisely Control Colour Grading
I typically colour grade my photos using the curves, hue/saturation, colour balance, gradient map adjustment layers, and occasionally replace colour.
Over time, I have come to see that the art of colour grading photos lies in subtlety. It is about making a couple of small tweaks that cumulatively result in major changes in the mood that speaks of my personality.
Controlled, precise adjustments are necessary in order to get professional, natural-looking results.
These adjustment layers in Photoshop have various mechanisms to help photographers achieve this effect:
Curves: Click on the finger icon on the top left of the curve, which allows you to take a specific part of the photo and adjust the brightness, or the RGB values
Colour balance: Separates the pixels into highlights, mid-tones and shadows, each of which allows for an independent set of RGB adjustments
Gradient map: Assign a certain hue or tone to any given brightness level in the image by adding stops on both the colour and brightness scales, and select the desired colour or values
Hue/ Saturation: Click on the finger icon on the top left of the sliders to make a preliminary sample of the colour of a particular part of the image, and adjust the colour range toggles to control the range of colours to affect
Replace colour: Make a selection of an area based on the colour, and assign any desired colour in replacement of the original colour
As you can see, these adjustments offer an incredible level of control for the photographer to develop their photos exactly how they want to.
This is critical to create the mood of the resulting image, because even a slight deviation can throw the balance off the colour combination and completely change what the photo makes the viewer feel.
Remove or Manipulate Backgrounds
This is typically done using the content-aware fill, content-aware scale and eraser tools.
Depending on how the client wishes to use the photos, sometimes the photographer will be required to deliver plain product photos, showing clearly the product itself as a display.
This usually means that the photographer has to remove the background against which the product was shot, or change the colour or quality of the background to fit the client’s needs.
In dealing with changes in the background, two main issues arise: 1) the quality of the selection of the subject, and 2) the matching of highlights and shadows in the resulting composite.
Photoshop does this job exceptionally well. Firstly, it is really smart in identifying edges and boundaries, which makes the photographer’s life substantially easier in making a good selection that segregates the subject from the background.
Secondly, Photoshop is incredibly intelligent in analysing the information in the photo and subsequently fabricating realistic chunks based on what it understands the context to be. This ability comes in handy in situations where due to spatial and physical limitations, the actual background was not ideal and has to be altered in post-processing.
This is a prime example. When setting up the shot, since I was shooting on location, I wasn’t able to carry large backdrops that could fill out the entire frame to the shot because it was too heavy.
I only managed to bring along smaller yellow backdrops that only took up parts of the frame. Photoshop enabled me to extend the background in editing, bypassing physical constraints brought about by backdrops.


Thirdly, composites inevitably suffers from a mismatch of brightness or white balance values between the subject and the background. Photoshop allows photographers to close this gap between the individual components and create coherent highlights and shadows, making resulting images realistic.
Make Targeted, Partial Adjustments
This is typically done using the layer mask function coupled with selection tools such as colour range, select and mask, and blending options etc.
I briefly mentioned the importance of being able to make an accurate selection within a photo, to tackle different parts separately.
With the mask tool, you can effect changes only to a certain area of the photo by drawing the shape of the mask manually.
You can also create masks by selecting pixels based on a certain characteristic, such as colour. This allows photographers to manipulate a certain strand of colour, rather than affecting the entire band of colours, at the mercy of how the software decides to classify the colours.
Another way of applying changes partially is to make use of the blending option function. You can elect to apply the adjustment layer only to parts of the photo that is of a certain brightness range.
These tools are incredibly powerful, especially in the realm of paid work that requires photographers to handle every bit of detail with care.
Should you Learn Photoshop or Lightroom First?
This is very much an issue of personal preference and every photographer will give a slightly different answer. My take on this is to definitely start with Lightroom.
In simple words, Photoshop is a layer-based software, whereas Lightroom is a slider-based software.
Here are the reasons why.
Paid Photographers do Unpaid Work Too
Based on what we have covered, we learnt that in the commercial world, Photoshop is almost always necessary in that it makes possible a range of retouching tasks otherwise unavailable simply using Lightroom.
However, the catch is, professional photographers don’t only do paid work. Maybe it is a personal project, or a generous shoot for a friend for free, or a creative collaboration to try out new ideas, photographers constantly engage in non-commercial photoshoots.
This is something I constantly engage in, and also encourage you to do the same. Doing work free from commercial considerations is what really drives improvement in your work.
When it comes to projects as such, extensive Photoshopping is not necessary. But of course, photo editing is still a massive part in completing your artistic creation.
This is where slider-based softwares can come in handy, such as Adobe Lightroom. It gives you the basic tools to polish your series of shots, without delving into the granular detail and over-complicating the editing process.
Alternative for Paying Clients with Smaller Budgets
If you are to stay afloat running a photography business, you have to approach your photography like a business.
This per se sounds straightforward, but its implications on your choice of editing software can be less obvious.
Given that a photographer is equally skilled in both Photoshop and Lightroom, he could do the same job better in Photoshop, but faster in Lightroom.
I personally take at least one hour if I am to edit a photo in Photoshop, but only around 15 minutes if I edit the same photo in Lightroom. Both methods give me commercially usable images, though the Photoshopped version obviously is more well-crafted.
It might not matter as much if you are just starting out and that you still have enough time to give your clients way more than what they paid for. Because your opportunity cost, or time cost in this case, is relatively lower.
But issues will start to arise as you grow your business. Jobs start filling up your work week, and you will get to a point where your hours are worth more because time spent on editing photos could otherwise be spent serving another potential paying client.
Gradually, you see a pattern within your clientele in which some are willing to value you better than the others. And if you still put in disproportionately more effort into the less-paid jobs, you will do yourself a massive disservice by Photoshopping photos for a client who only paid for a Lightroom price.
This explains why you need a quicker alternative for photo editing for clients with a smaller budget. You can’t treat all clients alike regardless of how they are treating you.
Lightroom is my go-to solution when doing work for clients with a tight budget - they get decent photos on a commercial level, yet I protect myself from losing out on other opportunities.
Lightroom Teaches you What to Edit
Have you ever had this experience of staring at a photo that obviously needs editing, but not knowing what exactly to edit?
I certainly have, and this confusion has led me to see this obvious yet often overlooked fact that you need to know what to edit before you learn how to edit.
Most of the tutorials out there focus on how to use those tabs and sliders. But they seldom address the issue of what to edit.
Though fear not, because the tabs in Lightroom’s develop module are in themselves solid guideposts in relation to the type of things to look for in analysing what needs editing in a photo.
The tabs do not necessarily imply the sequence of editing, but it surely does provide some structure as to the broad buckets of changes photo editing generally requires. Here is how I categorise my editing steps.
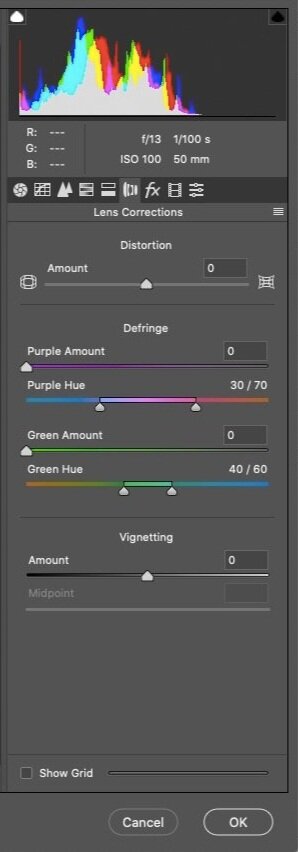
Technical adjustments: dealing with lens distortion, perspective correction and cropping. Refer to first diagram.
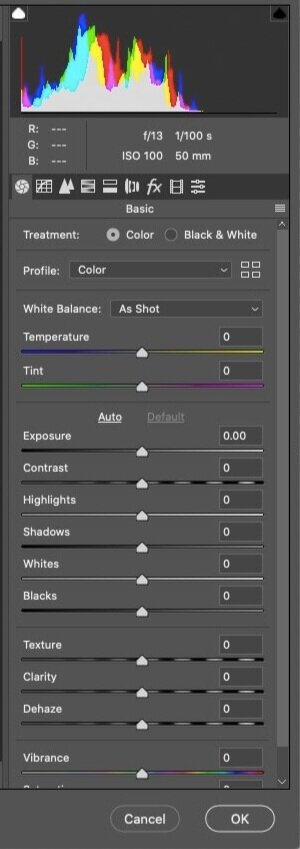
Brightness adjustments: manipulating the global brightness of the photos with regards to blacks, shadows, midtones, highlights and whites. Refer to second diagram.
Colour correction: remove any colour cast present in the photo. Refer to second diagram.
Colour grading: tweak colours to create colour harmony and contrast by making changes to the hue, saturation and luminance of the colours. Refer to third diagram.
Local adjustments: accentuate or mute parts of the photo to further bolster the subject in the photo

In my opinion, Lightroom is designed to educate photography hobbyists regarding what to edit, and also provide them with the tools to make the edits once they have figured out the areas to look out for.
Lightroom is where I built a basic understanding of what editing a photo means in practice. I could then leverage on this understanding as I move my editing onto a more sophisticated platform that gives me more freedom, namely Photoshop, without feeling at a total loss.
Bonus: Lightroom Lives Inside Photoshop!!!!
This point isn’t have any bearing on whether or not you should learn Lightroom or Photoshop first, but it supports the conclusion that you will need both skillsets.
First, let me explain in what sense is Lightroom inside Photoshop.
In Photoshop, one of the adjustment layers is the Adobe Camera Raw Filter. This filter is essentially the entire Lightroom software contained in a single adjustment layer!
It is usually the first window that pops up by default when you open Photoshop. If you want to open it up later on, you can do so through filter > camera raw filter…
Mind-blowing, yeah?
Therefore, there is no need to see Lightroom and Photoshop as two separate skillsets. They are separate softwares, but ultimately there are more similarities than differences than you think.
Even if you skipped Lightroom, you will get a chance to use it in Photoshop too, in the Camera Raw Filter. Therefore, learning Lightroom or Photoshop first is not as important question as you would think.
Summary
In this article, we talked about:
What are the best uses of Photoshop,
How Photoshop helps photographers, and
Whether you should learn Lightroom or Photoshop first.
More sharing coming soon!
SUBSCRIBE via the box on the left for more PRO tips, and follow me on Instagram (@_bjiao__) and let me know what you think in the comments!
Share this article on Pinterest too!
Keep shooting, keep creating!
The mission of this blog is to provide the best insider information in the photography industry, as openly as possible. You have direct access to my
first-person experience as an aspiring photographer who talks, but also works.
Honest opinion are rarely available as public resources because this is a competitive industry. Huge sums are made when such information is delivered in the form of mentorship and workshops.
This blog is a great way in which I cover my daily expenses, but also provide real value.
If you have learnt something that would be worth at least $10, please consider donating to the page. This enables me to keep creating content and helping more people sustainably.
Your continued support for the blog is appreciated!