To take good pictures, you need good light, ideally. Photography is always about finding and drawing with good light.
But that certainly doesn’t mean that no good pictures can be made in the dark.
Plus, as photographers, you might not have not much choice over the environment in which you shoot, especially when your client decides to host an event in a dark room.
Most photographers can take decent pictures under good light. But only the exceptional can still do so under dark lighting. So here are a few tips for those facing this challenge!
Arrive at the venue early to prepare the following. Set up your speed light if you have one, and observe where is the source of the lighting in the room. Take the time to test the optimal ISO in that particular circumstances, which gives the best compromise between image quality and appropriate exposure. Make sure you are shooting on raw, and widen your aperture as much as you can.
If you find this helpful, SUBSCRIBE to my channel via the box on the left to make the most out of my blog! Also, do share it with people who might be interested. Shoot me an email/ DM to share your thoughts too!
Also, Pin this article to your Photography Techniques boards in Pinterest if you find it helpful!

Arrive Early at the Room
What sets a professional photographer apart from an amateur is not so much about the techniques.
Rather, it is about the thoroughness of planning and preparation.
It is always a good practice to arrive at your client’s venue 20-30 minutes before the official event start time.
But especially where you are to shoot in a dark room, there are more things to sort out than you otherwise would have.
Save yourself the stress of having to deal with setting issues after the event officially kicks off.
Set up your Speed Light
What are speed lights?
Speed lights, also known as flash lights, are elongated units which can be mounted onto the hot shoe area on the top of your camera.
The biggest issue of shooting in a dark room is insufficient light, so the direct solution to that is to create more light.
When you click the shutter, the speed light automatically fires to instantaneously light up your subject.
Why do speed lights improve my pictures?
In a dark room, it is likely that even the optimal settings for drawing in the most light are still not satisfactory.
Adding a speed light lowers the ISO you need to shoot at, thus significantly reducing the amount of noise in your images.
Also, it allows you more room to shoot at a faster shutter speed to reduce motion blur and handshake.
An additional perk is that dark rooms might have a colour cast that doesn’t look flattering on your subjects. A speed light can replace some of that original cast with a neutral-looking, high quality light.
How to use a speed light?
There are many fancy things you can do with a speed light. Here is a video that I found very comprehensive when I first learned how to use it.
But for our current purposes, you just need to know the absolute basics.
Some flashes have an auto mode that complements the flash settings to your camera settings.
Some others do not, so you need to take some time to test out the best settings in the dark room.
Where to buy a speed light?
I am aware that not all photographers, especially beginners, own a speed light.
But if you are serious about photography in the long run, I highly recommend that you get one.
Even a very basic model will vastly up your game and allow you to take great pictures in a dark environment.
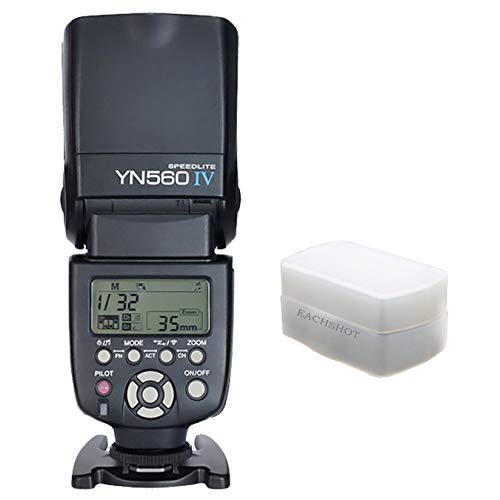
The first and only flash I ever used is the Yongnuo Speedlite YN560-II from Amazon.
This particular bundle even comes with a diffuser, which is a bonus for producing a softer even lighting from the flash.
Standing at less than USD$80, it is such a bargain loved by many professionals.
Though if for any reason a flash is not a plausible solution, the following actions are still capable of massively improving your images.
Search for the (Best) Light Sources
How to find light?
Even in a dark room, there is some light. To make the most out of what you have, you need to first identify where that light is located.
To get a step further, identify which of those sources are the best for pictures. Usually at night, it might be a neutral colour light or a lamp; during the day, daylight passing through the windows would work better.
How to make the best use of that light?
Having mapped out where the (best) light is coming from, photograph people when they are facing that light.
For example, here is a shot of a networking session at a bar at evening time in London.
In this case, there were a few sources of lights, but the best one is from an overhead bulb, rather than the reddish light from the side.
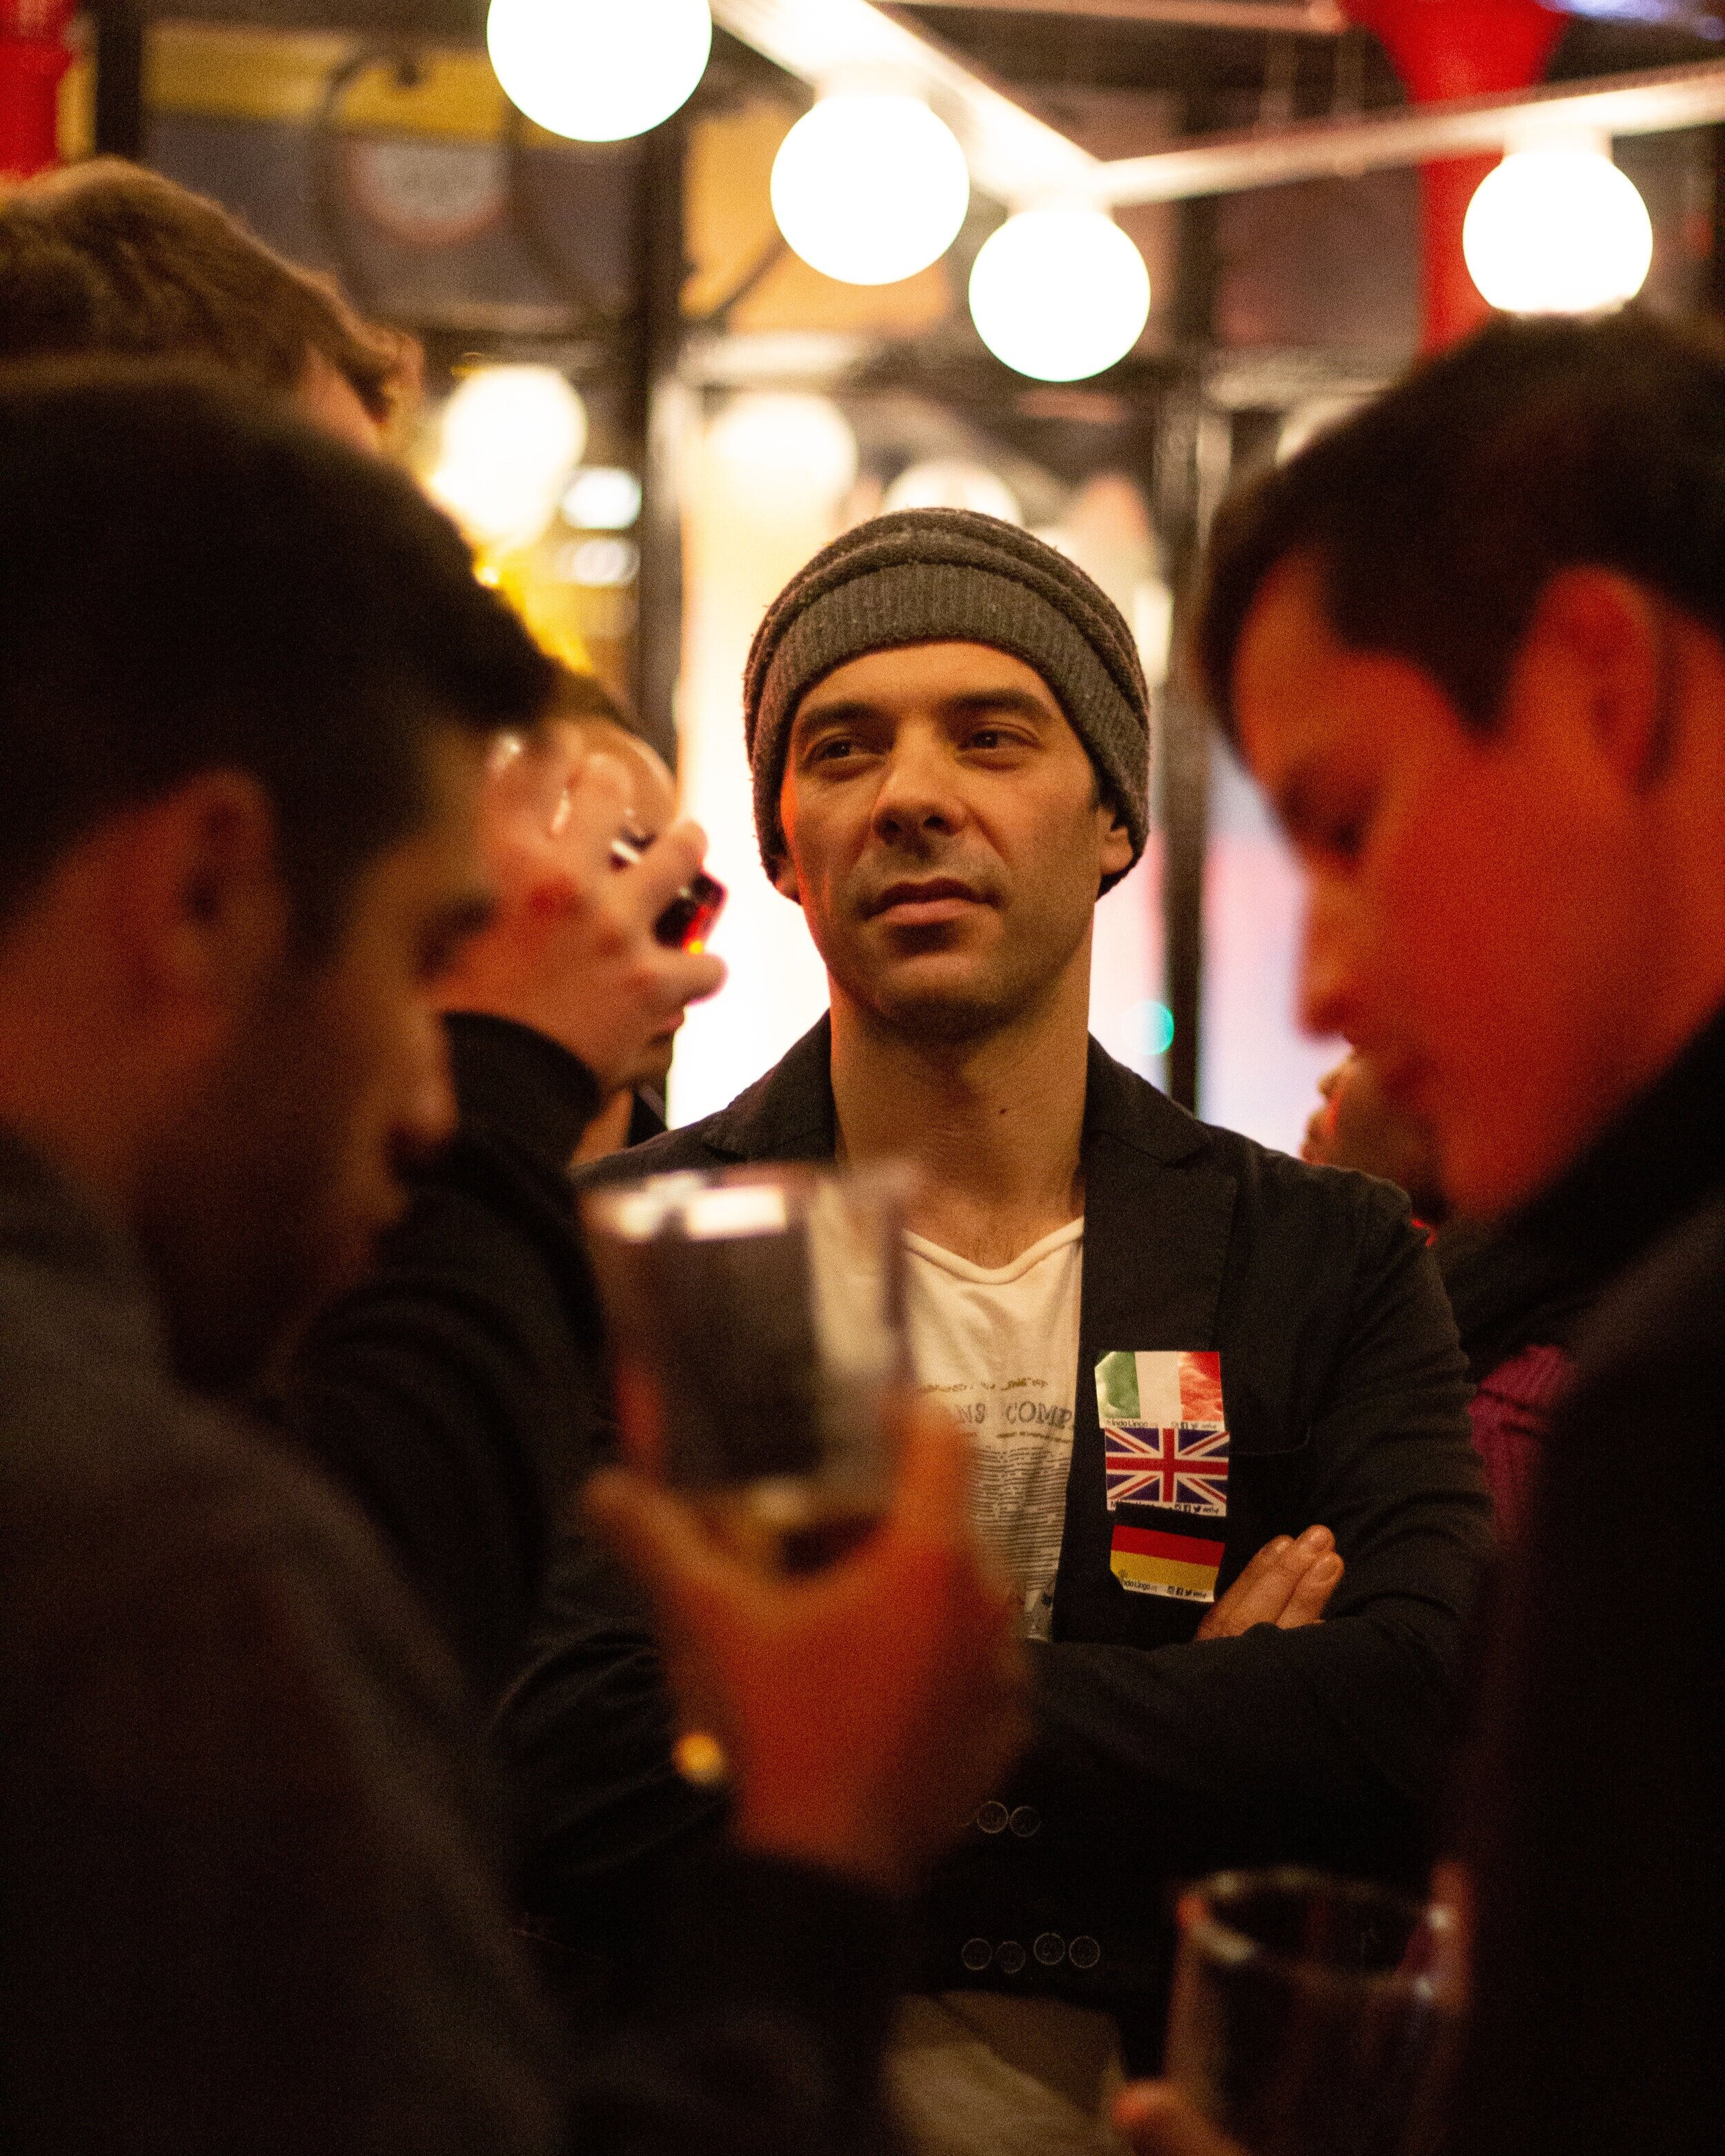
From the shoulders of the people in the foreground, you can tell the the room was pretty dark without the bulb.
But I caught this man standing at a position where the bulb highlighted his face adequately, and that he was tilting his chin slightly upwards.
Without a flash, I was able to shoot a decent picture of him.
Another tip, with regards to shooting poised portraits/ group shots, is to invite your subjects to stand closer to the light sources you identified.
In so doing, you will able to shoot decent pictures even in the dark.
Widen the Aperture
This tip is old but gold - it is pretty much a standard thing to do under dim light conditions.
The wider you open your aperture, the more light you let in, the brighter your image.
But in practice, shooting wide open requires some caution.
Focus and recompose might backfire
Lowering the F stop will decrease your depth of field, meaning that a smaller range of objects will be in focus.
At really low F stops, this means that any slight movement will likely throw your subject off that range.
Therefore, better play safe by composing your image before locking the focus.
Shift gears for group shots
At any event, people might want shots of them with their friends, colleagues, team etc.
Especially with groups of four people onwards, usually it requires dialling the aperture up to around f/4.0.
This was a group shot I did for a business pitching competition in London at night.

Specs: f/2.8 1/125 ISO 3200 Gear: Nikon D300 17-55mm; Yongnuo YN560-II Speedlite
Naturally, people don’t align themselves in a perfect horizontal line. And that slight difference might cause some of the subjects to be out of focus, if you shoot wide open.
Moreover, you actually want to arrange people nicely for composition purposes.
In this shot, the subjects were standing at about 3 different distances from my camera, so I dialled my aperture from f/1.8 up to f/2.8.
I got away with f/2.8, but to play safe, you might want to go higher, and compensate with shutter speed or ISO instead.
Shoot in Raw
If you are wondering what is raw, read it up in this blog post where I explained it in depth.
In the case of shooting in a dark room, the reasons for shooting raw are similar - you need to brighten up the image in editing without creating unsightly colour clutters and patches.
Where both a jpeg and a raw file were underexposed to the same extent, the raw file retains more detail in the shadows. By simply dragging the shadows up in editing, you can recover the underexposed parts decently in the raw; you will probably getting a ton of noise in the shadows in the jpeg.
Compromise between ISO and Shutter Speed
We already know that the aperture should be as wide as you can handle.
This leaves us with the ISO and shutter speed to figure out.
You might have heard of the ‘exposure triangle’ - the tri-party relationship between Aperture, Shutter Speed, and ISO.
If you haven’t, check out this video from Sean Tucker, an amazing street photographer based in London, in which he explains the exposure triangle in further detail.
In the case of shooting in a dark room, figure out the slowest shutter speed you can manage without creating camera shake. Of course, this is also dependent on the movement of the subjects in the room.
For relatively static subjects, I would recommend 1/100, at most.
After that, test out the minimal ISO level you need to get enough light in.
Summary
In this article, we talked about:
Arriving at the room early, to
Set up your speed light,
Search for the best native light.
Widen the aperture,
Shoot in raw, and
Find the optimal ISOs and Shutter Speed
More sharing coming soon!
SUBSCRIBE via the box on the left for more PRO tips, and follow me on Instagram (@_bjiao__) and let me know what you think in the comments.
Share this article on Pinterest too!
Keep shooting, keep creating!


The mission of this blog is to provide the best insider information in the photography industry, as openly as possible. You have direct access to my
first-person experience as an aspiring photographer who talks, but also works.
Honest opinion are rarely available as public resources because this is a competitive industry. Huge sums are made when such information is delivered in the form of mentorship and workshops.
This blog is a great way in which I cover my daily expenses, but also provide real value.
If you have learnt something that would be worth at least $10, please consider donating to the page. This enables me to keep creating content and helping more people sustainably.
Your continued support for the blog is appreciated!